Cloud SSH Security: Password Login Disable, Port Change, Key Authentication
Last year, a client's server was compromised just three days after launch. The attacker gained root access through SSH brute‑force. The server became a cryptomining bot. CPU ran at 100% for a month, and the cloud bill jumped by thousands of dollars.
"The password was complex," he said.
I asked: "Can a complex password stop hundreds of brute‑force attempts per second?"
SSH is the gateway to every Linux server – and the most common target for attackers. Without proactive hardening, a public server might as well be shouting "break in here."
01 How Widespread Is SSH Brute‑Force?
Cloud providers report that public‑facing servers face thousands of brute‑force attempts daily as a baseline. Attackers use automated tools (Medusa, Hydra) with common password dictionaries, scanning default port 22.
Attackers' favorite targets:
Default port 22
Password‑based authentication allowed
Root remote login allowed
When all three are present, the success rate of attacks increases significantly. The compromised client had all three.
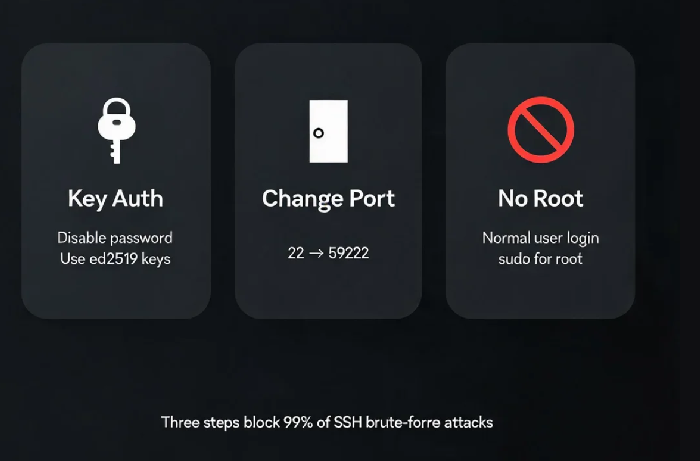
02 First Line of Defence: Disable Password Login, Enable Key Authentication
Passwords can be guessed, brute‑forced, or phished. Key authentication uses asymmetric encryption – the private key never travels over the network, making brute‑force attacks impossible.
Client generates a key pair (public + private)
Public key is uploaded to the server
During login, the server encrypts a random challenge with the public key
The client decrypts it with the private key – if successful, access is granted
Step 1: Generate a key pair
On your local machine, run:
bash
ssh-keygen -t ed25519 -C "[email protected]"
Press Enter to accept the default location (~/.ssh/id_ed25519). ed25519 is recommended over RSA for better security and performance. If your system doesn't support it, use ssh-keygen -t rsa -b 4096.
Step 2: Upload the public key to your server
bash
ssh-copy-id -i ~/.ssh/id_ed25519.pub user@server-ip
If ssh-copy-id is unavailable, manually append the content of id_ed25519.pub to ~/.ssh/authorized_keys on the server.
Step 3: Disable password authentication
Edit /etc/ssh/sshd_config:
text
PasswordAuthentication no
PubkeyAuthentication yes
Then restart SSH:
bash
sudo systemctl restart sshd
Important: Before making these changes, test key‑based login first – otherwise you could lock yourself out.
03 Second Line of Defence: Change the Default Port
Changing SSH from port 22 to a non‑standard high port is the lowest‑cost hardening measure. It filters out over 90% of automated scanning attacks.
Edit /etc/ssh/sshd_config, find #Port 22, and add a new line below it:
text
Port 59222
Don't remove the original 22 port immediately – add the new port first, confirm it works, then remove 22.
Restart SSH:
bash
sudo systemctl restart sshd
Update your firewall:
bash
sudo ufw allow 59222/tcp
Also update your cloud security group to allow the new port – preferably restrict it to trusted IP ranges or your office IP.
04 Third Line of Defence: Disable Root Remote Login
Root is the ultimate target. If the root password is compromised, the entire server is lost.
Create a normal user with sudo permissions:
bash
sudo adduser opssudo usermod -aG sudo ops
In /etc/ssh/sshd_config:
text
PermitRootLogin no
Only allow login with a normal user account – when you need root, use sudo -i.
You can go further by restricting login users and IPs in sshd_config:
text
AllowUsers [email protected]/24
The Bottom Line
The compromised client hardened their server with these three steps – key authentication, port change, and root login disabled. Three months later, they said: "The logs are clean. No more thousands of failed login attempts. I can finally stop worrying."
SSH security hardening is a must‑do for every cloud server. Configure it once – it protects you forever.