CDN Access Control in Practice: Referer Anti-Hotlinking, IP Whitelist/Blacklist, and Rate Limiting
Last year, a client told me: "My CDN bill tripled this month, but traffic didn't increase. Am I being scammed?" I asked them to sort their CDN traffic logs by Referer. The top referrer wasn't their own domain – it was an unfamiliar website. Their images were being hotlinked .
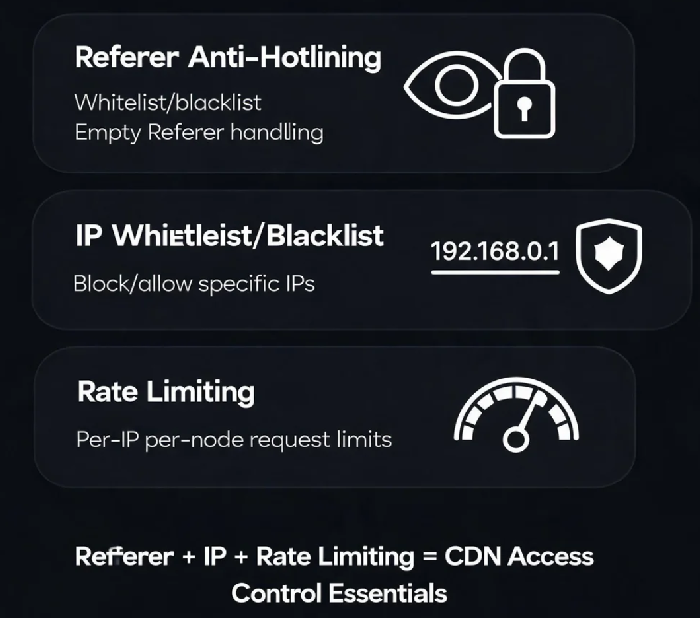
CDNs don't restrict access by default – they don't know your business logic . You need to configure access control policies yourself. Let's walk through the three essential CDN access control tools: Referer anti-hotlinking, IP black/whitelist, and rate limiting .
01 Referer Anti-Hotlinking: The First Layer of Defence
How it works: The HTTP Referer header tells the server which page the user came from . The CDN uses this field to determine whether the request origin is legitimate.
Two modes: Whitelist and blacklist are mutually exclusive . Whitelist mode is the most common – only allow your own domains to access resources, block everything else. Blacklist mode is for rejecting specific malicious sources.
Empty Referer is the biggest loophole: An empty Referer means the request header contains no Referer field. When users type a URL directly into the browser address bar, the request carries no Referer . Most CDN providers allow empty Referer by default. If you allow empty Referer, attackers can use scripts to request image URLs directly without a Referer, bypassing the whitelist entirely .
That client's problem was exactly this – they had configured a whitelist but allowed empty Referer. Attackers simply crafted requests without the Referer header to bypass the restriction.
Configuration tips: Confirm whether your business actually needs empty Referer (usually not). Disable "allow empty Referer" in the CDN console. Use wildcards to cover subdomains: *.example.com .
02 IP Black/Whitelist: Precise Blocking
When to use IP black/whitelist? When your logs show a specific IP generating a large number of requests in a short time – scraping, credential stuffing, or CC attacks – add that IP to the blacklist.
Supported formats: Single IP (192.168.1.1), IP ranges (192.168.1.0/24), CIDR notation . Most providers support around 100-200 entries per domain . IPv4 and IPv6 are both supported .
Priority: A domain can only use either blacklist or whitelist – not both simultaneously .
03 Rate Limiting: Catching Distributed Attacks
How it works: Set a rule like "single IP can access at most N times per second on a single node." Requests exceeding the threshold are directly rejected (returning 514 or 403).
When to use rate limiting? When malicious IPs are numerous and scattered, making individual IP blacklisting impractical, rate limiting is your best option .
Configuration: Most domains allow up to 3 rules . Don't set the threshold too low, or you'll block legitimate high-frequency users (e.g., API calls).
04 Advanced Protection: Timestamp Authentication
Referer can be forged , IPs can be hidden behind proxies. For high-value resources (premium videos, confidential files), you need stronger protection – timestamp authentication.
URLs carry a timestamp and signature (MD5/SHA256). The CDN node verifies both the signature and the timestamp before allowing access . This is commonly known as Key authentication in cloud CDN products.
Summary
CDN access control should be layered:
Standard resources: Referer whitelist + disable empty Referer
Attack IPs found in logs: Temporarily add to IP blacklist
Distributed IP attacks: Rate limiting as a fallback
High-value resources: Timestamp authentication
After that client disabled empty Referer, their hotlinking traffic dropped to zero. Their ops lead said: "The biggest vulnerability was the back door I left open myself."